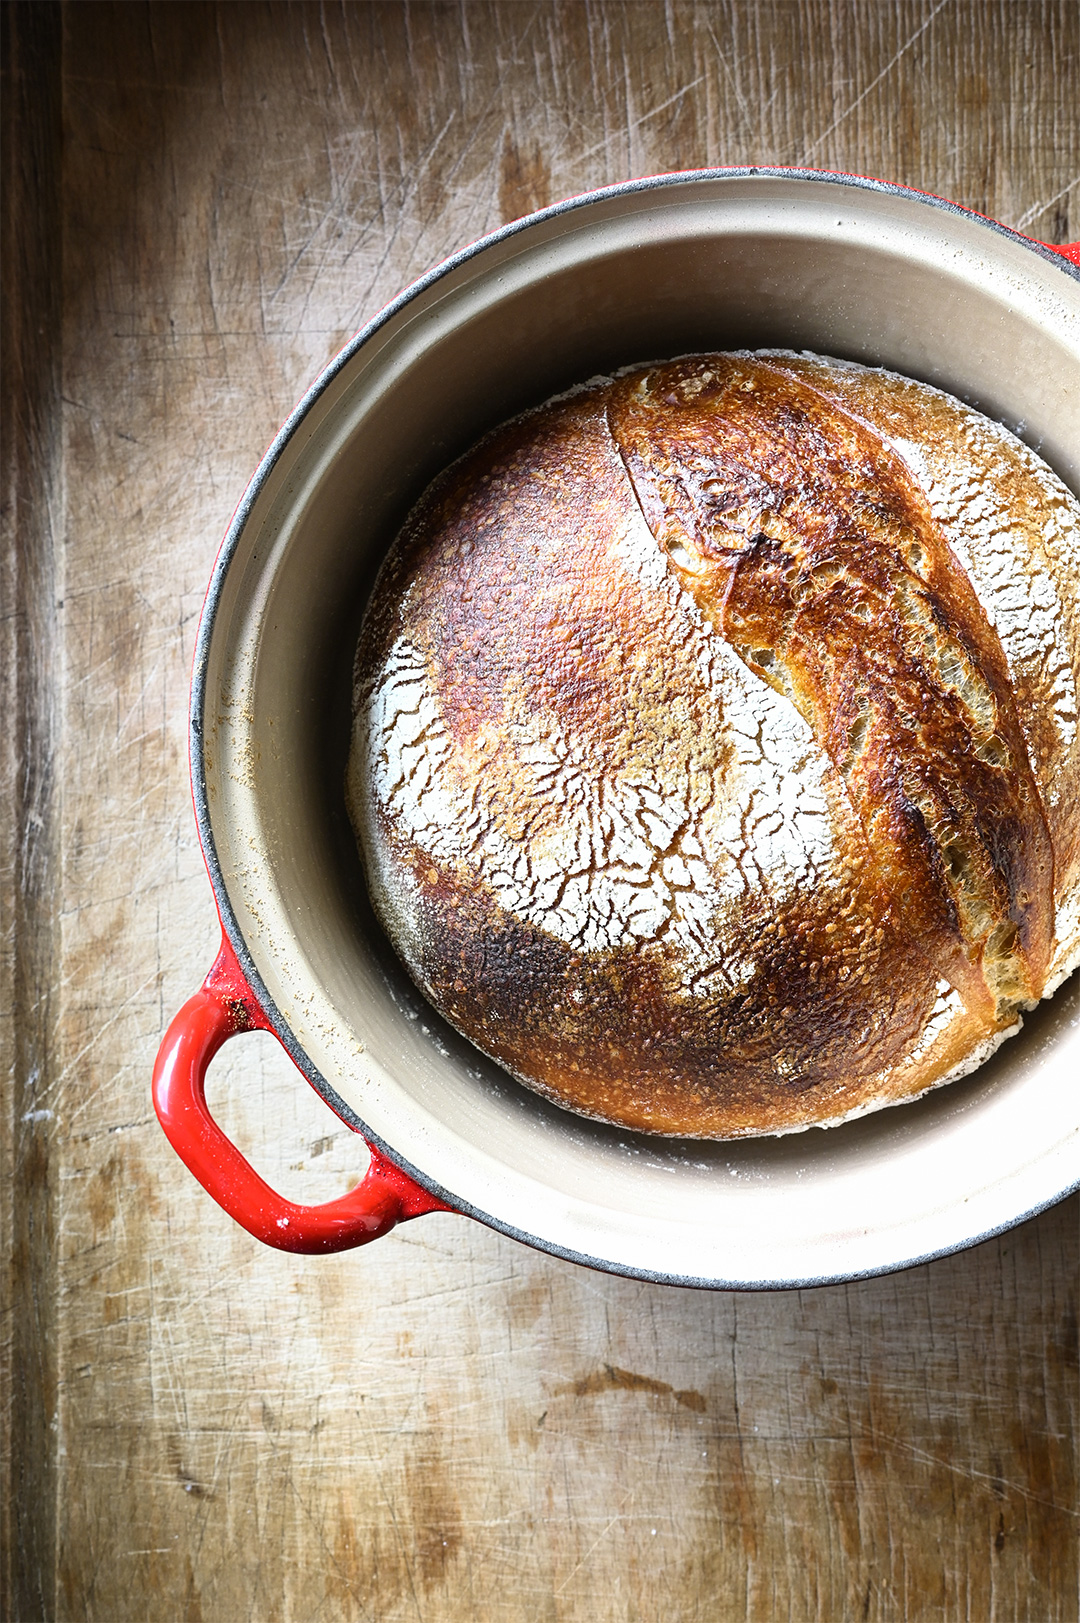
Sourdough bread is made entirely by using a sourdough starter aka wild yeast. A starter is a mix of flour and water that has been fermented and contains a natural colony of wild yeast that makes your dough rise. With a good, active sourdough starter, you won’t need any commercial yeast at all. Wild yeast works a little bit slower, so sourdough bread needs to be made over the course of a day, or even two days. It’s important you organize your time correctly. This slow development helps to tease out more complex, nuanced flavors in your sourdough bread — far beyond those of store bought ones.
You can take a look at my sourdough journey on my Instagram Stories in Highlights.
Note: With your sourdough starter you are able to make sourdough bread, babka, waffles, pizza, bagels, …
Recipe Homemade Sourdough Bread HERE
You need
- 60 g all-purpose flour (or spelt flour or a mix of all-purpose and whole grain flour)
- 60 g lukewarm water
How to
The process takes about a week.
Day 1
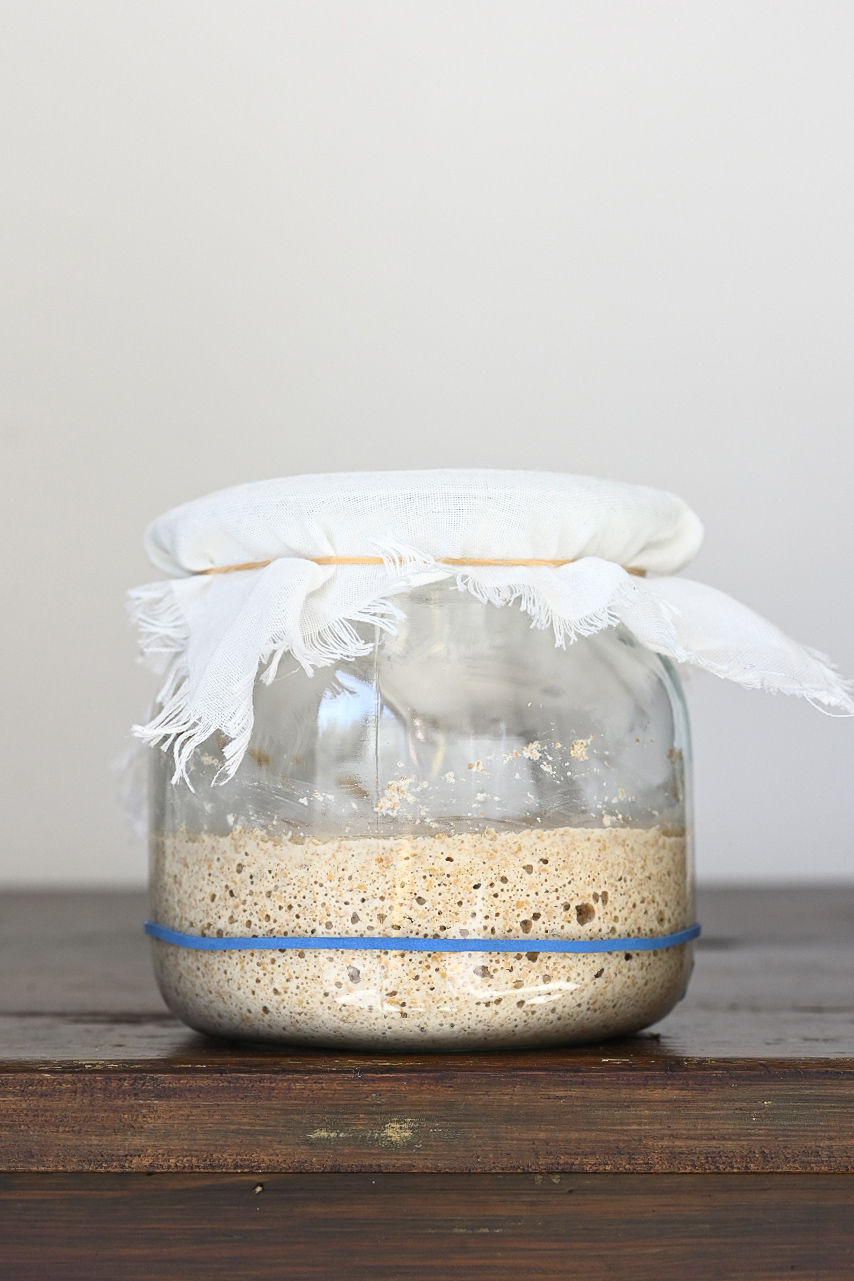
Weigh the flour and water. In a glass jar, stir vigorously until combined into a smooth batter. It will look like a sticky, thick dough. Scrape down the sides and cover with a tea towel secured with a rubber band.
Place the jar at room temperature for 24 hours, until you begin to see the mixture bubbling up. It is important that you stir the sourdough starter every day in the morning and in the evening.
Day 2
Feed the starter. Add 60 g flour and 60 g lukewarm water, stir well to combine, and let sit out for 24 hours. Place a rubber band on the outside of the jar, at the top of the mixture, to track how or/if the mixture has grown. Stir in the evening and in the morning.
Day 3
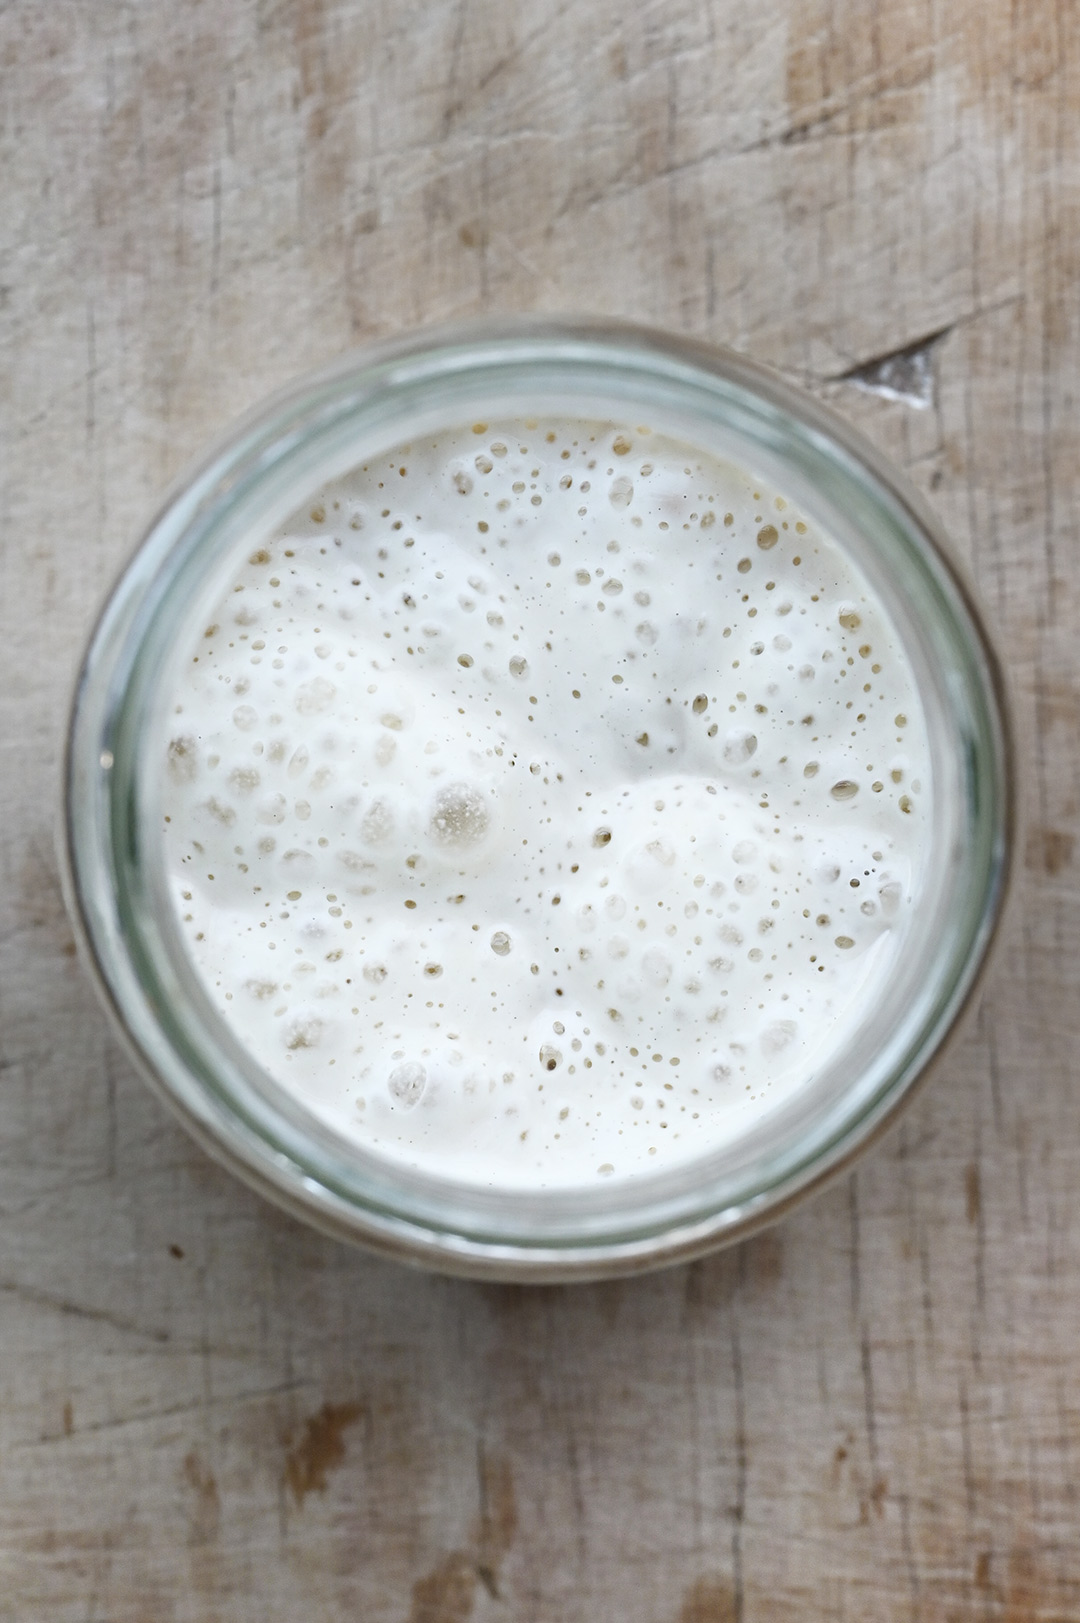
At this point, you should see a few small bubbles here and there and it smells a bit sour, mildly sweet and yeasty. Which is great! The bubbles mean that wild yeast have started making themselves at home in your starter. They will increase the acidity of the mixture, which helps fend off any bad bacterias.
If you don’t see anything, it is possible that the process takes a little longer, it depends on the temperature in your kitchen. A colder environment may take longer. You can just continue with the stirring process for about 2 more days.
Day 4
The surface of your starter should look dotted with bubbles and your starter should be visibly larger in volume. Use a wooden spoon to discard half of the mixture, and throw it away. OR even better, you can fry ‘the batter’ in olive oil like a pancake or naan, with a pinch of salt and pepper. You will be surprised!!
Feed the starter with another 60 g flour and 60 g water. Stir in the morning and in the evening.
Continue this process for 2 more days. Discard half, then feed with 60 g of flour and lukewarm water. Your starter is like a baby, don’t forget to feed, stir every day and treat him with love. You can give your starter a name, I called mine Lemmy.
Day 5
Discard half of the mixture and feed your starter. If you don’t notice significant growth each time, feed the starter twice a day.
Day 6
If all is well, the wild yeast is quite active now. The starter should be completely webbed with bubbles and also be smelling quite sour.
You can now feed your starter just one more time and if everything is looking and smelling good, you can consider your starter is ripe and ready to use!
Day 7
You can now make the dough for bread. Don’t discard the starter but use the amount you need for your dough and then feed it with new flour and lukewarm water.
If you’re using the starter within the next few days, continue discarding half and feeding it daily. Your starter will remain active.
If you want to bake less often, you can also store the starter in the fridge. Remember to take it out and feed it at least once a week.
If you want to use your starter again, take it out of the fridge. First leave it until it reaches room temperature for at least 3 hours, then feed your starter. The starter is ready to use when it’s bubbly and airy.


